
How to use virtual desktop in vr comes down to three things: a compatible headset, a solid PC and network, and the right settings so your stream stays sharp and low-latency.
If you tried it once and got a blurry picture, stutters, or controller weirdness, you’re not alone, Virtual Desktop is powerful, but it’s picky about Wi‑Fi and a few hidden toggles that most people skip.
This guide walks you through setup, the settings that actually matter, and a quick troubleshooting flow, plus a few “quality of life” tips that make daily use feel effortless.
What Virtual Desktop does (and what it doesn’t)
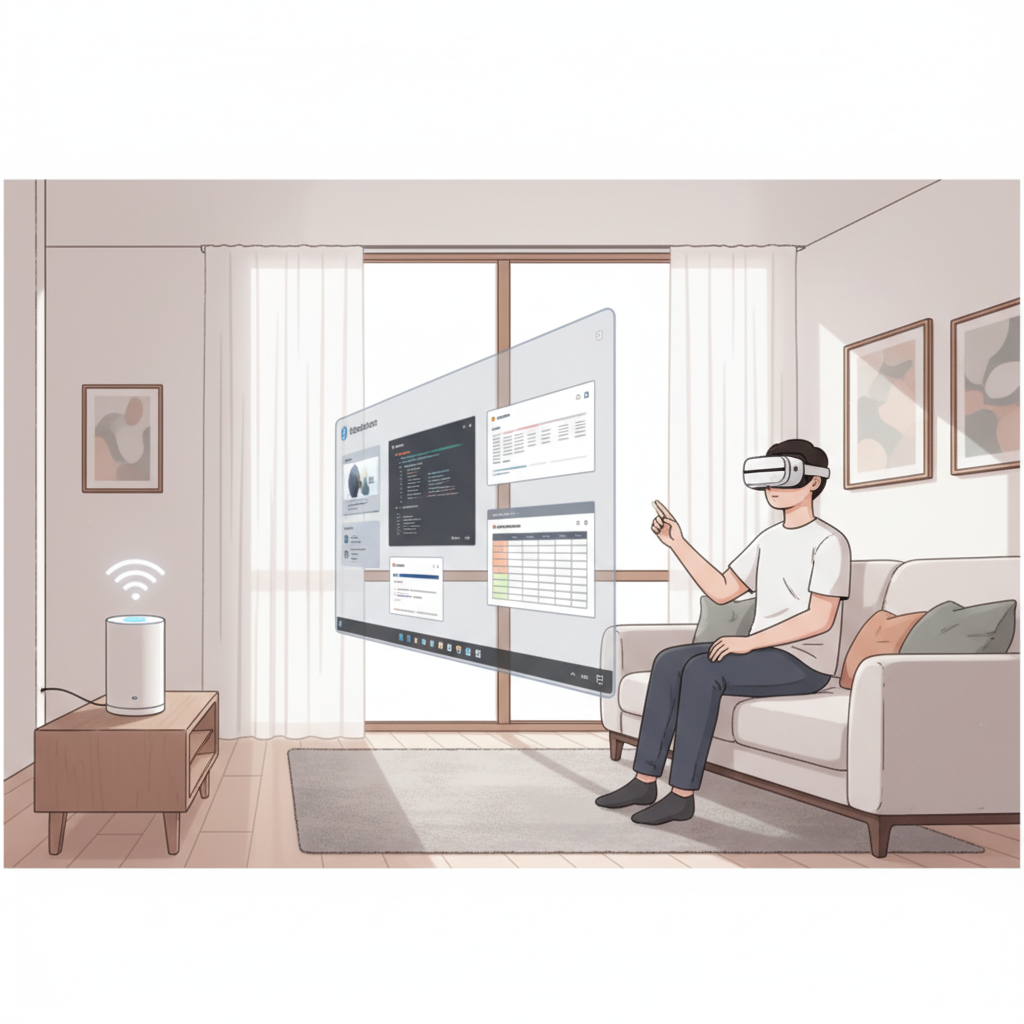
Virtual Desktop is an app that lets you view and control your PC in VR, and in many cases stream PC VR games wirelessly to a standalone headset. Think of it as a high-performance remote desktop made for VR use, with game streaming baked in.
- Great for: wireless PC VR streaming, huge virtual monitors, working or browsing in VR, watching videos from your PC.
- Not the same as: Meta Link/Air Link, Steam Link, or a native VR “monitor” app. It can overlap, but the settings and failure points differ.
- Not magic: if your Wi‑Fi is weak or your PC is borderline, it won’t feel smooth until you fix the bottleneck.
According to Meta, PC VR streaming quality depends heavily on your network environment and router capabilities, which matches what most people see in practice when comparing wired vs wireless play.
Before you start: a realistic compatibility checklist
Before chasing settings, confirm your baseline, this saves a lot of time.
Headset and store purchase
- Make sure your headset supports the Virtual Desktop app in its store (many people use it on Meta Quest headsets).
- Update the headset OS and the Virtual Desktop app to current versions.
PC basics (what usually matters most)
- GPU: a modern NVIDIA/AMD GPU helps more than raw CPU for streaming quality and encoding.
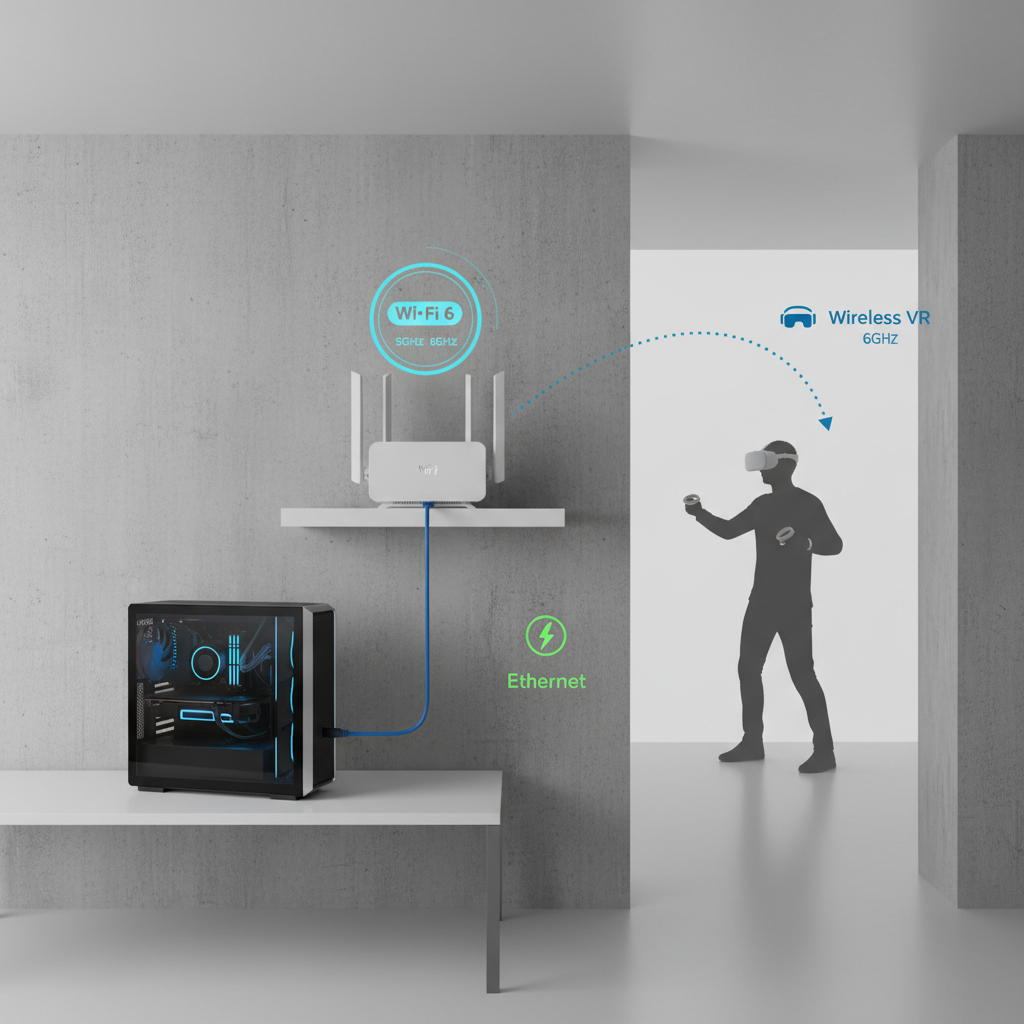
- Wired PC connection: PC to router via Ethernet tends to be the difference between “okay” and “wow.”
- Router: Wi‑Fi 5 can work, Wi‑Fi 6/6E often works better, especially in busy apartments.
Network reality check
- Use 5 GHz (or 6 GHz with 6E) for the headset when possible.
- Keep the play space within a reasonable distance of the router, thick walls and crowded channels can tank performance.
How to use Virtual Desktop in VR: step-by-step setup
How to use virtual desktop in vr is easiest when you treat it as a two-part install: the headset app and the PC streamer app that “hosts” your desktop.
1) Install Virtual Desktop on your headset
- Buy/download Virtual Desktop from your headset’s app store.
- Launch it once so it can complete any first-run permissions.
2) Install the Virtual Desktop Streamer on your PC
- Download and install the official Streamer from the Virtual Desktop site.
- Sign in with the same account used on the headset app.
- Leave the Streamer running (many people set it to launch on Windows startup).
3) Connect inside VR
- Open Virtual Desktop in your headset.
- Select your PC from the list, if it doesn’t appear, you’re usually dealing with account mismatch, firewall rules, or being on different networks.
- Once connected, you should see your desktop on a large virtual screen with controller-based mouse control.
4) Launch PC VR (SteamVR or OpenXR titles)
- Open the “Games” section in Virtual Desktop and start a VR title from there when available.
- If a game requires SteamVR, Virtual Desktop typically prompts or launches it automatically.
According to Valve (Steam), SteamVR performance is sensitive to dropped frames and timing spikes, which is why network jitter can feel worse in VR than in regular desktop streaming.
Settings that actually move the needle (quality vs latency)
You can spend hours toggling options, but a handful tend to do 80% of the work. Your goal is stable frame delivery, then better sharpness.
Quick “good starting point” profile
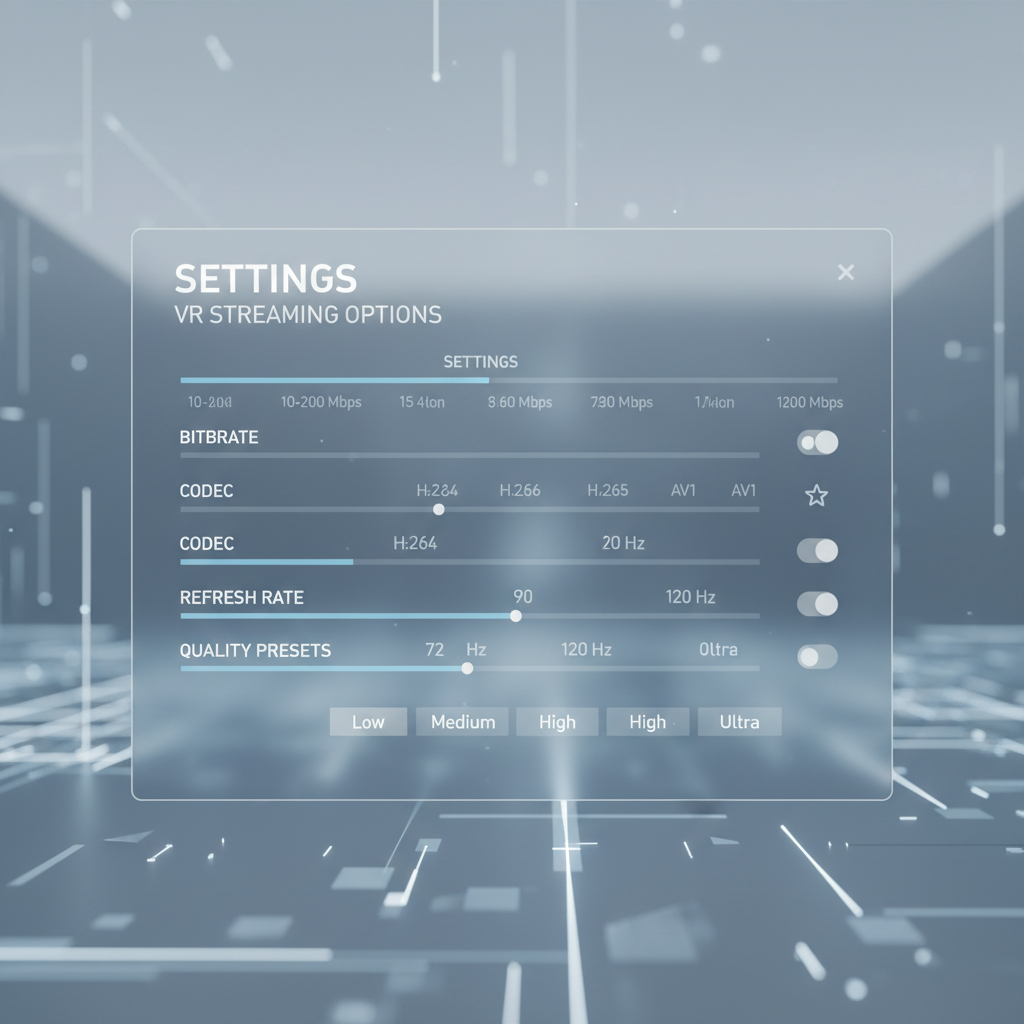
- Codec: start with the default or HEVC if your GPU supports it well, switch if you see artifacts or instability.
- Bitrate: raise until you see stutters, then step back a notch.
- Refresh rate: choose what your PC can hold steadily, stable 72/80 can feel better than shaky 90/120.
- Resolution/quality preset: increase gradually, if your GPU usage pegs, back down.
A simple table: what to change based on the symptom
| Symptom | Most likely cause | Try this first |
|---|---|---|
| Frequent stutters every few seconds | Wi-Fi congestion or weak signal | Move closer to router, switch to 5/6 GHz, lower bitrate |
| Blurry image even when stable | Low resolution or too-low bitrate | Increase quality preset, raise bitrate gradually |
| Good image but feels “laggy” | Latency from encoding/network | Lower bitrate slightly, reduce refresh rate, use Ethernet for PC |
| Random disconnects | Router band steering or power saving | Separate SSIDs for 2.4/5 GHz, disable Wi-Fi power saving |
| Controllers act weird in some apps | Runtime mismatch (SteamVR/OpenXR) | Confirm game runtime, update SteamVR, check OpenXR settings |
Fast self-test: where your bottleneck probably is
If you want a quick diagnosis without overthinking it, run this checklist and stop once you find a “yes.”
- PC not on Ethernet? Fix that first, wireless-to-wireless setups often disappoint.
- Headset on 2.4 GHz? Move it to 5 GHz or 6 GHz.
- Router in another room behind multiple walls? Test in the same room, then decide if you need a better placement or access point.
- Performance tanks only in one game? It’s probably game settings or runtime, not Virtual Desktop itself.
- Desktop use is fine but VR games stutter? You may be GPU-bound, reduce in-game resolution scaling and effects.
Practical tips for smoother wireless PC VR
Once you’re connected, small changes in your home setup can outperform endless software tweaks.
- Give VR its own lane: if possible, keep the headset on a dedicated 5/6 GHz SSID and avoid heavy downloads while playing.
- Router placement matters: higher and more central often beats “next to the TV.”
- Prefer less crowded channels: many routers can auto-select, but manual selection can help in dense buildings.
- Close background hogs: screen recorders, RGB software, overlays, and browser tabs can add spikes.
- Keep expectations realistic: high bitrate and ultra resolution are great until they aren’t, stability wins.
For comfort, take breaks if you feel eye strain or motion discomfort. VR sensitivity varies a lot, and if symptoms persist, it’s sensible to pause and, if needed, consult a healthcare professional.
Common mistakes (the ones that waste the most time)
- Mixing accounts: the headset app and PC streamer must be logged into the same Virtual Desktop account.
- Double streaming paths: running Air Link/Steam Link style streaming at the same time can create conflicts or confusion.
- Chasing 120 Hz too early: if your network or GPU can’t hold it, you get worse perceived smoothness than at 72/80/90.
- Assuming “fast internet” fixes it: Virtual Desktop cares about local Wi‑Fi quality, not your ISP plan.
- Ignoring GPU encoding: some GPUs handle certain codecs better, if one looks unstable, try the other.
When to consider extra help (or a different setup)
If you’ve confirmed Ethernet to the router, a clean 5/6 GHz connection, and reasonable settings but you still get frequent stutters, the limiter is often the router, interference, or a PC that struggles with encoding while gaming.
- If you live in a high-interference area, a Wi‑Fi 6E router or a dedicated access point near the play space often helps, but results vary by layout.
- If your GPU is older, lowering in-game settings may do more than tweaking Virtual Desktop.
- If you need consistent performance for demos or work, a wired PC VR link can still be the most predictable option.
According to the Federal Communications Commission (FCC), wireless performance can be affected by interference and physical obstructions, which is a practical way to think about “why it works in one room but not another.”
Key takeaways + a quick action plan
If you remember three things, make it these: keep the PC wired to the router, keep the headset on 5/6 GHz, and tune bitrate/refresh rate for stability instead of bragging rights.
- Do now: Ethernet your PC and confirm the headset connects on 5 GHz or 6 GHz.
- Then: set a stable refresh rate, raise bitrate slowly until stutters appear, back off slightly.
- Finally: if only certain games misbehave, treat them as game-specific performance tuning problems.
If you want to keep improving the experience, pick one variable at a time, network, bitrate, refresh rate, in-game settings, and test for five minutes before changing anything else.